React & Firebase: From Zero to Deployed
For those of you that are shopping around for a backend server for your next web or mobile application, Firebase is certainly something worth considering. Firebase is a cloud-based BaaS (Backend-as-a-Service) that is operated and owned by Google. Firebase makes it incredibly easy to: create online real-time databases, manage app authentication, run server-side functions and deploy your apps with minimal effort and at competitive rates.
There are fantastic articles out there summarizing Firebase and it’s capabilities (see Hacker Noon’s blog post for a great introduction). This blog post will rather focus on how to build a web app using React for the front-end and Firebase for the back-end. To show off Firebase’s capabilities we’ll be building a to-do list app. Let’s get stuck in!

Create a new React App
The first thing you need to do is create a new React project. The Facebook team has made this incredibly easy with the ‘create-react-app’ NPM package. Make sure you have it installed before proceeding.
To illustrate how to connect Firebase and React we’ll be making a really basic to-do list app called Firelist. Let’s start by creating a new React app from the terminal:
create-react-app firelist
Go to this new firelist directory in the terminal and fire up the server by typing npm start. You should see the page below running on port 3000.

Great! We now have the skeleton for our front-end. Let’s start messing around with Firebase to setup our back-end.
Create a new Firebase Project
Setting up a new Firebase project is incredibly straight-forward. All we need to do is head over to the Firebase Console and add a new project. The prompt should look similar to the screenshot below. We give the project a name and ID and Google does the rest. The project name will be the reference used by Firebase in the console and later using the CLI tools. The Firebase ID will be used for generating our URL when we’re ready to deploy.

Now we need to copy our Firebase configuration settings. Click the button to add Firebase to your web app. You’ll get a prompt showing the configuration data for your project. Simply copy the config object and head back to our React code.

Creating Firelist
Now that we have a Firebase project set up let’s install the Firebase node modules for our React app. Simply type the following into the terminal at the project directory:
npm install firebase --saveOnce that’s completed let’s open up the index.js file in the ‘src’ folder. This is where we’ll be importing the Firebase components and inserting our project configuration data (copied in the previous step). The Firestore package will serve as the database to our project so importing it here is essential.
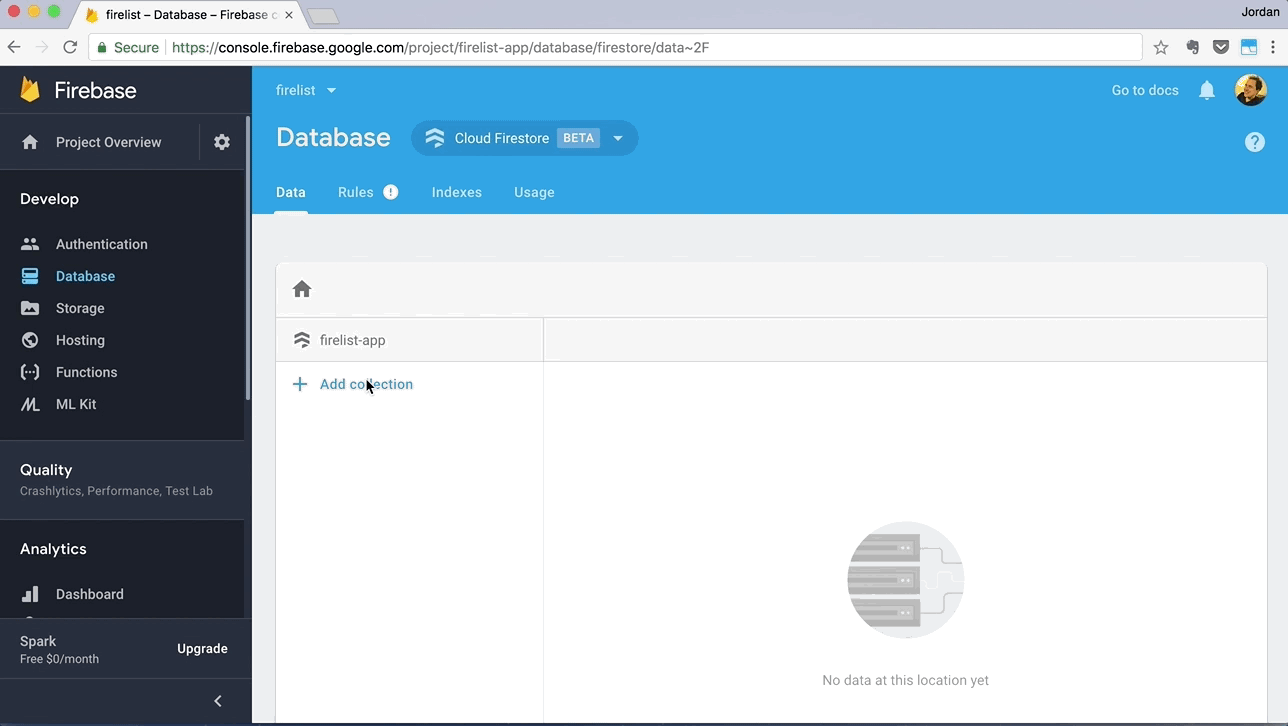
Before we get to writing the code for the Firelist app let’s seed our database with some data. Head back to the console and select ‘Database’ from the navigation panel on the left. We’ll initially set our Firestore rules to test mode. This allows anyone to read and write to the database without authentication. This is obviously not ideal for a real-world application but suitable for this example. Remember to take your database out of test mode before deploying your real applications!

I created a collection called ‘tasks’ which I will fill with documents that each have a title and description.
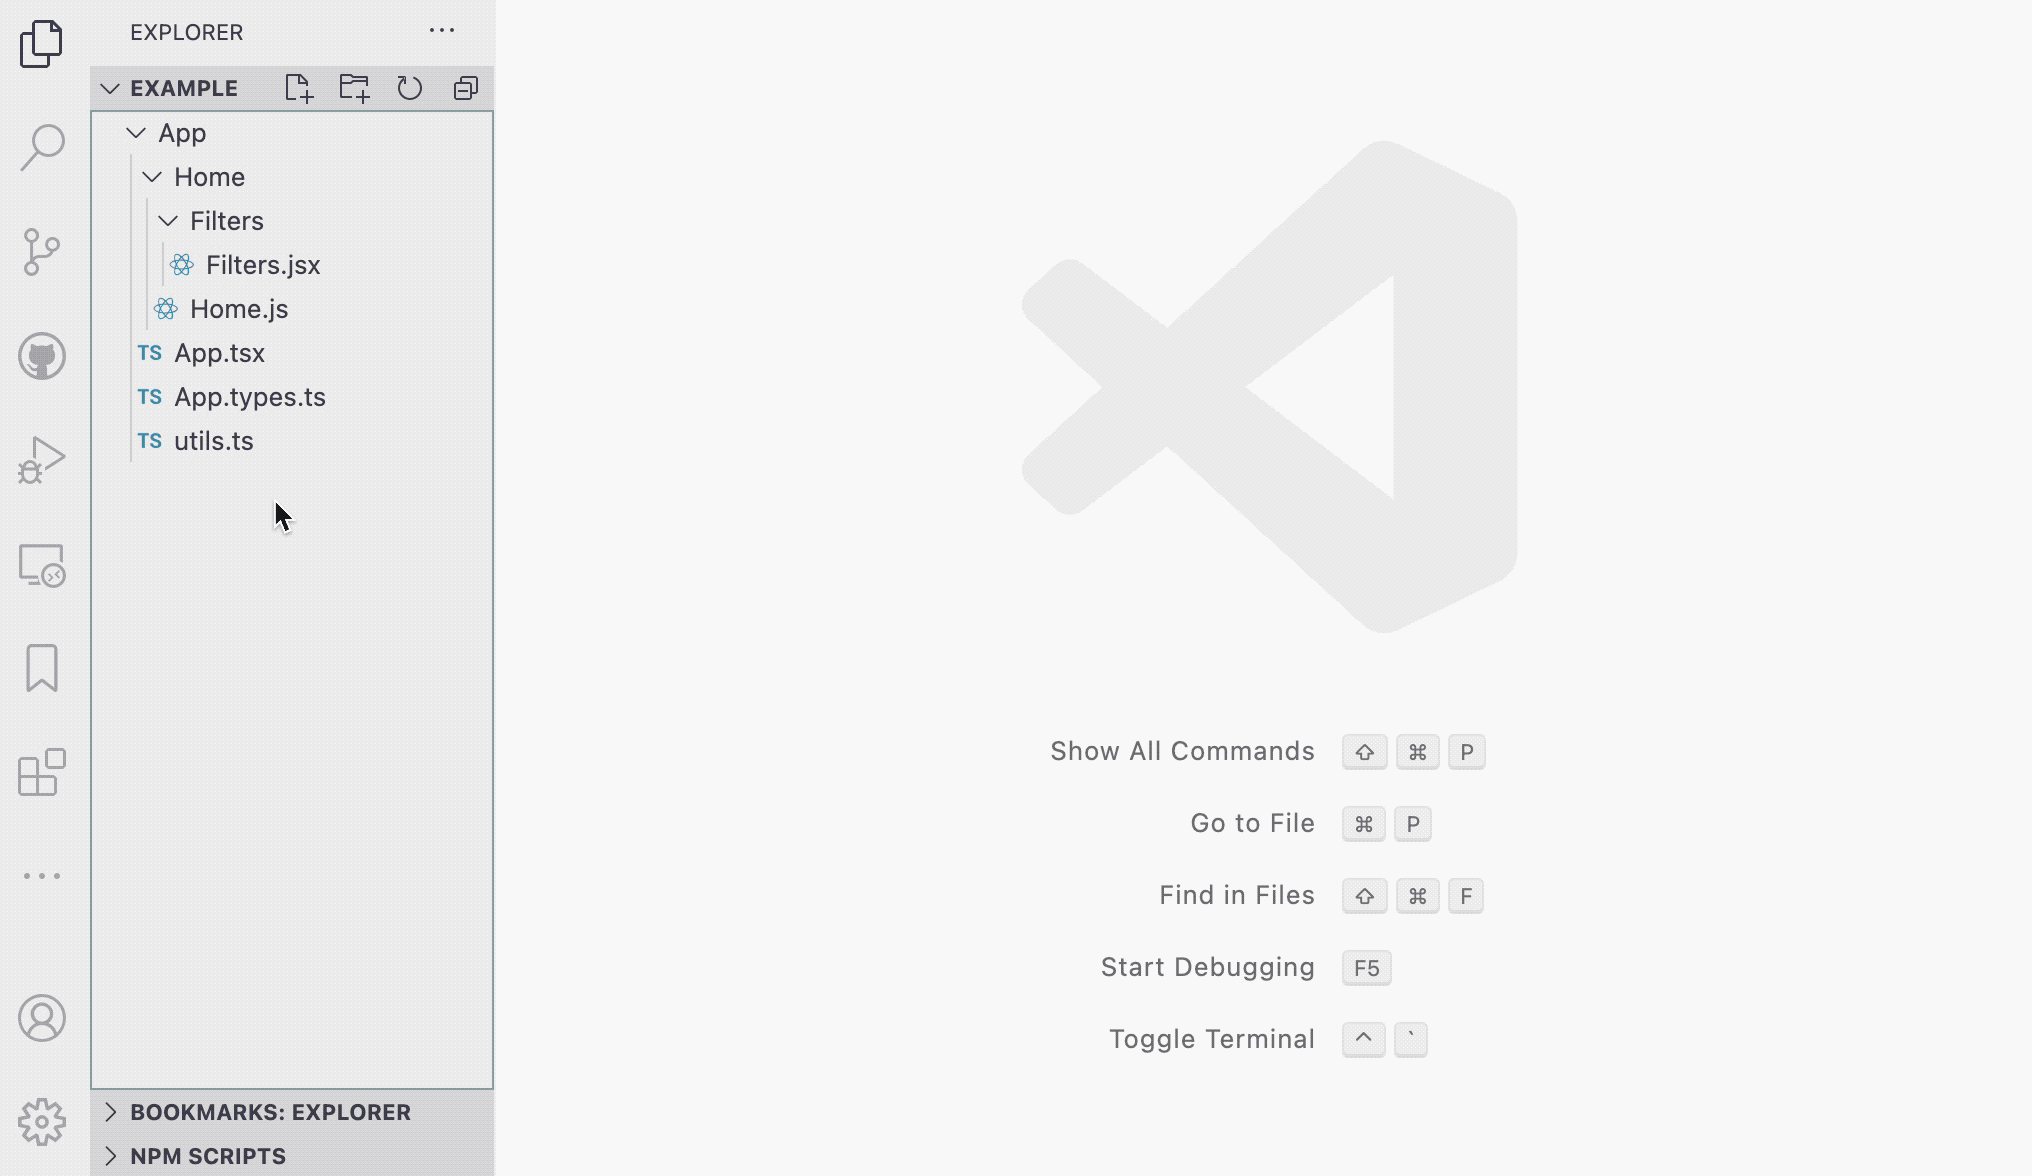
We’ll be coding the entirety of our Firelist app in the <App /> component to keep things simple for this example. To follow along you’ll need to have a basic understanding of React and how it manages state.
In the App class, I created states for title and description, i.e. our two fields we’ll be writing to Firestore for each task. I also added an empty array for data. This is where we’ll be holding the data we fetch from Firestore.
If you head down to the render method you’ll see I’m calling on the function dataForm. This returns a form with two input fields for title and description. handleChange is an event listener for changes to either input field. I call on the componentDidMount lifecycle method which is triggered as soon as the App component is called. This in turn calls the method getTasks.
This is where things start to get interesting. We’re making our first call to the Firestore database. We direct Firestore to our collection that we seeded called tasks. We then iterate over each of the documents in this collection and write them to the data array in state. dataIndex is a function invoked inside the render method. It maps over each data entry and returns JSX for each task title and description.
The final method in our code is handleSubmit. When we click the submit button Firestore receives a post request to add a new document.
We now have an app that is actively getting and posting to a database! To get the data we simply use firebase.firestore().collection(“tasks”).get(…) and to post we use firebase.firestore().collection(“tasks”).add(…). Here is a snapshot of our new app.

Let’s Refactor a bit…
Now we’re going to make a really subtle change to our code. We’re going to be replacing the get() method in getTasks with onSnapshot. onSnapshot maintains an active event listener for database changes. so if anyone makes changes to the database this will trigger a re-render of our component. This subtle change allows us to easily make collaborative applications with a real-time database. We can share our Firelist with anybody and in real-time see changes that are being made!

Deploying our Application
Just like everything else in Firebase deploying our application is really easy. We start out by typing the following in the terminal. This creates a bundled package for deployment. When completed you’ll have a new folder called ‘build’ in your project directory.
npm run buildNow we need to install Firebase tools. Enter the following in the terminal:
npm install -g firebase-toolsThen in the project directory type:
firebase initSelect Firestore and Hosting from the menu

Follow the prompts as shown below. Make sure to connect to the correct Firebase project (in this case firelist). Importantly, set your public directory to build, i.e. the bundled folder that was just generated.

Now all that’s left to do is deploy our application to Google’s servers:
firebase deploy
Now we can view our app in all its glory!